Are you struggling to find a guide to help you install and run 32-bit apps on Android handsets? If yes, then you’re in the right place. In this guide, you will get to know step-by-step instructions to install and run 32-bit apps on Android handsets.
While most of the apps today seem to have adopted the newer 64-bit architecture, there are some that still use a 32-bit arch. Such apps aren’t maintained by the developer but the nostalgia factor with these apps still compels many users to use these apps.
When trying to sideload apps, users are being greeted with a “You cannot install the app on your device” message. The reason is that the OS today comes with 64-bit build of the OS and Google has changed ro.zygote to zygote64. With that said, there is a simple workaround to help you install and run 32-bit apps on Android handsets.
How to install and run 32-bit apps on Android handsets?

Step 1: Download the firmware
Before you can install and run 32-bit apps on Android handsets, you should first get hold of the stock firmware for your smartphone. Ensure that you’re downloading the same version currently installed on your device. Make sure that you download the firmware/factory image/Fastboot ROM rather than the OTA/Recovery ROM.
Step 2: Extract the stock boot/init_boot
You should now extract the firmware and get the stock boot.img/init_boot.img file. Here is how you can extract the firmware corresponding to different OEMs –
- Google Pixel users should use the built-in Windows Extractor for extracting ZIP
- Xiaomi users should use 7ZIP to extract TGZ and TAR
- OnePlus and Nothing users should be using the Fastboot Enhance Tool for extracting payload.bin
- Realme and Oppo users should be using Oppo Decrypt Tool for extracting OZIP/OFP
Step 3: Download Magisk Zygote
Magisk Zygote64_32 is a mod of Magisk and is designed primarily as a root solution for multilib Android smartphones that are Zygote64-only, like the Pixel 7/8 Series.
Direct Download | GitHub | Download
Step 4: Unroot the device (for rooted users)
If you’re using a rooted device, you’ll first need to unroot it before going ahead. Meanwhile, if your device is already non-rooted, you can skip this step and continue with the next step.
- First, you should uninstall the Magisk app from your smartphone
- After that, enable USB debugging and connect it to the PC using a USB cable
How to Enable Developer Options, USB Debugging and OEM Unlock on Android
![]()
![]()
- Download and extract Android SDK Platform Tools
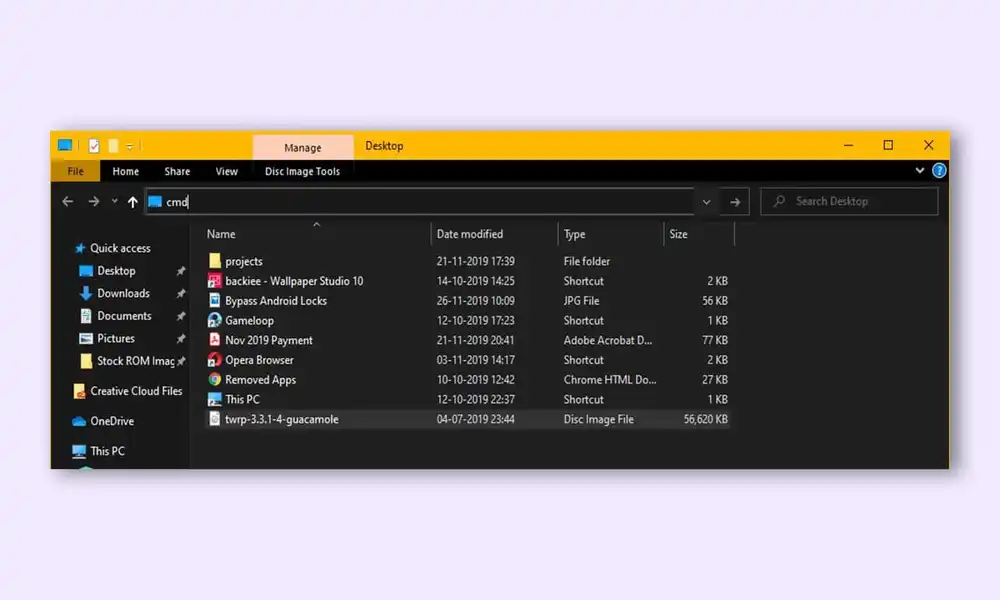
- Type in CMD in the folder’s address bar before hitting Enter to launch the Command Prompt
- Type the following command to boot your smartphone to Fastboot Mode –
adb reboot bootloader
- Flash the stock boot.img or init_boot.img using the following command –
fastboot flash boot boot.img or fastboot flash init_boot init_boot.img
- Reboot your smartphone to the OS using the following command –
fastboot reboot
Step 5: Patch boot/init_boot using Magisk Zygote
- First, you need to install the Magisk Zygote64_32 app on your smartphone
- Launch it and then tap on the “Install” button beside Magisk
- Choose Select and Patch a File before navigating to the stock init_boot.img file and selecting it
- Tap on the “Let’s Go” button located at the top right
- The init_boot.img file will be patched and placed under the “Downloads” folder and you can then transfer this file to the platform-tools folder on your PC
- Rename the file to patched_init_boot.img or patched_boot.img
Step 6: Boot to the Fastboot Mode
- Enable USB debugging and then connect your smartphone to the PC using a USB cable
- Go to the platform-tools folder, type CMD in the address bar, and then hit Enter to launch the Command Prompt
- Type the following command in the CMD window for booting your device to the Fastboot Mode –
adb reboot downloader
- For verifying the Fastboot connection, you should type the following command and you’ll get back the device ID –
fastboot devices
Step 7: Root using Magisk Zygote
- First, you need to transfer the patched init_boot.img/boot.img to the platform-tools folder
- Now, flash this file and do the format data along with it using the following command –
fastboot -w flash init_boot patched_init_boot.img or fastboot -w flash boot patched_boot.img
- Reboot your smartphone to the rooted OS using the following command –
fastboot reboot
- As your device has undergone a reset, the first boot would take a bit of time
- Once your device boots up, you should install the Magisk Zygote64_32 app again and then launch it
- Open Magisk Zygote64_32 and then finish the remaining setup before you can install and use 32-bit apps on Android smartphone
Step 8: Test the results
- Download and then install 32-bit apps on Android smartphone
- Launch it and then check if it is working or not
- If you want to perform a check using a more technical route before executing the following command –
getprop ro.zygote; getprop ro.vendor.product.cpu.abilist; getprop ro.vendor.product.cpu.abilist32
- If you get the following output, it’ll signify that your device can run 32-bit apps on Android handset now –
Zygote64_32

Arm64-v8a, armeabi-v7a, armeabi

armeabi-v7a, armeabi
We hope this guide helped you install and run 32-bit apps on Android smartphones. If you have any questions or suggestions, feel free to mention them in the comments section.
