Have you been looking for a simple guide to help you clear cache on Android via ADB, Fastboot, and other methods? If yes, then your search is over as you’ll get to know all about it here. In this guide, you will get to know how to clear cache on Android via ADB, Fastboot, and more.
Cache data refers to temporary files stored on your device when you’re using apps or browsing the internet. When app data is cached, your device will be able to retrieve it faster, which improves performance and reduces loading times for frequently used apps.
However, the cached data can end up accumulating or getting corrupted over time, which slows down the performance of apps on your device. The only way around this situation is to clear cache on Android using ADB, Fastboot, or any other method.
How to clear cache on Android via ADB?
Here are the steps you need to follow to clear cache on Android via ADB –
- Start by downloading and setting up the latest ADB and Fastboot drivers on your computer
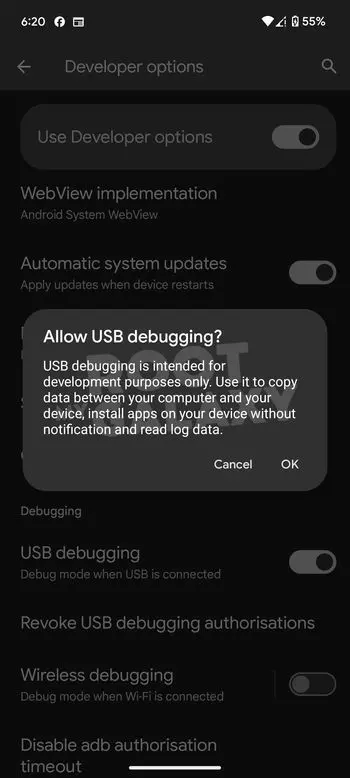
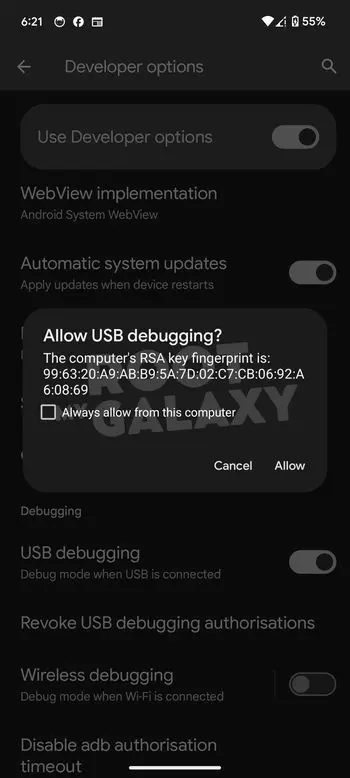
- Make sure that USB Debugging has been turned on on your Android smartphone and then connect it to your PC using ABD ((To enable USB Debugging, you’ll need to go to Settings -> About Phone -> Tap on Build number 7 times -> Return to Settings -> System -> Developer Options -> Enable USB Debugging)
![]()
![]()
- Head over to Settings -> Display -> Screen Timeout and then extend it to 5-10 minutes
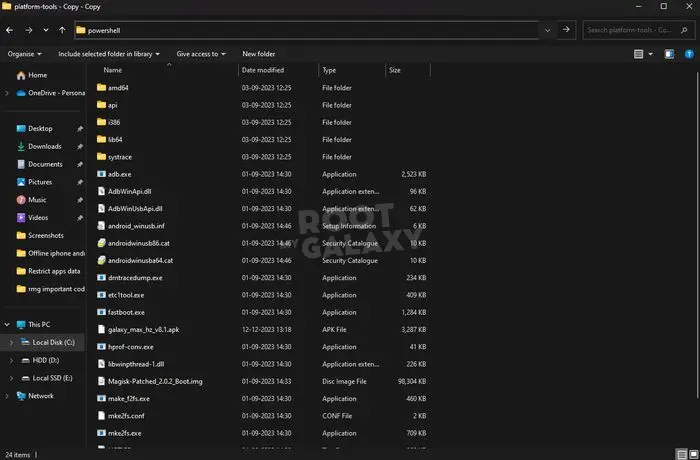
- Launch the PowerShell window with the path of the platform-tools folder
You can use command window or powershell, whatever you like
- For doing that, right-click inside the folder window and then choose the “Open in Terminal” option from the context menu or To launch PowerShell from the platform-tools directory, navigate to the folder in File Explorer. Type “powershell” into the address bar and press Enter to open a PowerShell window with the path set to the current folder. This allows immediate access to scripts and tools in platform-tools.
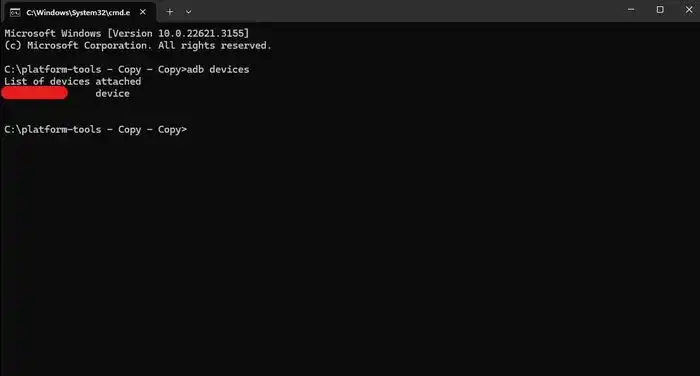
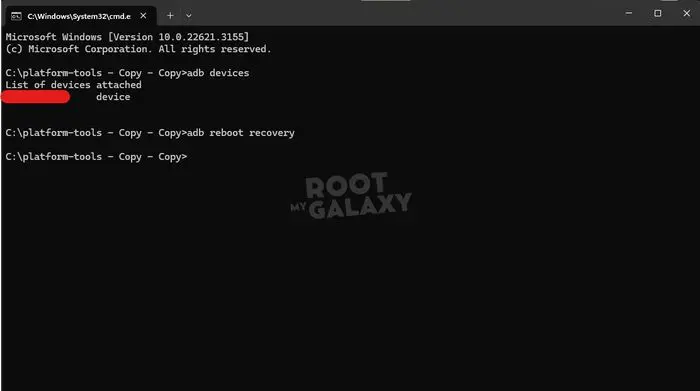
- For verifying that ADB has successfully detected your connected Android smartphone or tablet, you should execute the following commands and then authorize ADB on your smartphone when prompted
adb devices
- Lastly, type the following command for activating the Shell mode
- The command window will show you the connected Android device codename with a “$” sign
You’ll be able to execute ADB Shell commands. Remember to omit the “adb shell” portion while giving the commands after the $ sign. To clear the data and cache of the app, you need to mention its package name in your commands.
ADB Command for clearing App Data and Cache –
adb shell pm clear <package-name>
This command deletes all user data and cache of the Android app. You’ll be able to use it to reset an app on your device.
Delete the cache of specific apps –
pm clear --cache-only <package-name>
Normally, the pm clear command will reset the app data and cache. However, by adding a condition to it, you’ll be able to clear the cache of the specific app package. This method will work flawlessly on Android 13 and older OS versions.
If you’ve got a rooted Android smartphone, you’ll be able to use the following ADB command for clearing the cache only for an Android app.
adb shell
Su -c “rm -rf /data/data/<package-name>/cache/*”
Clear the cache for all installed apps –
You can use the shell pm trim-caches command for clearing the cache of all apps installed on your smartphone. The command will take the desired free space parameter in kb/mb/gb and trim the cache according to the defined space. If you add an insane size in mb or gb, ADB will clear the cache until the ideal size is reached. As the size is never reached, all cache will be cleared.
adb shell pm trim-caches 128G
ADB Command for clearing all app data and cache
Clearing the app cache and data manually could take a bit of time and effort if you do this for all apps installed on your Android smartphone individually. Here is the ADB command to clear all data along with the cache –
adb shell cmd package list packages | cut -d”:” -f2 | while read package;do pm clear $package:done
How to clear system cache using Recovery
If deleting the app cache does not serve your purpose, you’ll need to wipe the system cache on your Android smartphone using the stock recovery or TWRP.
Here are the steps you need to follow to clean the dumped cache files on your smartphone –
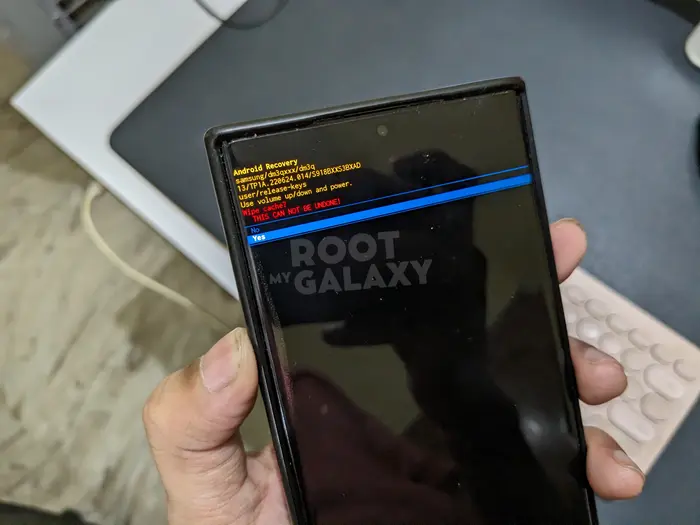
- Boot your smartphone into Recovery Mode using hardware keys, ADB commands, or tools like ADB AppControl/WebADB
- Connect your smartphone to your PC and then type the following command in the command window for entering the Android Recovery and TWRP
adb reboot recovery
- Wait until your smartphone reboots into the Recovery Mode
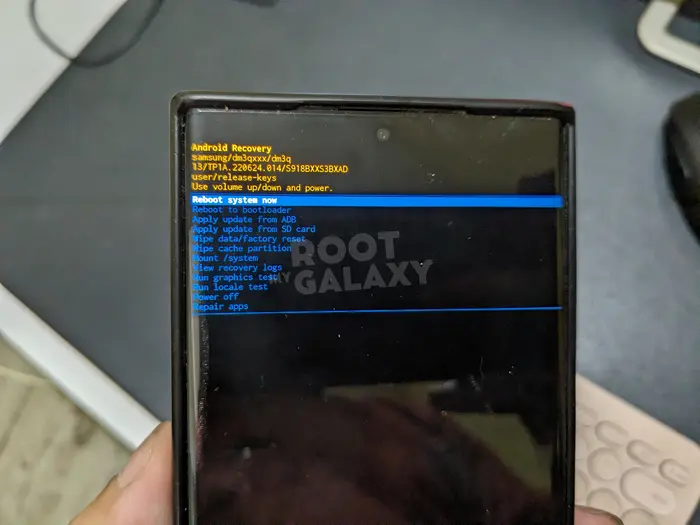
- You’ll now be able to navigate your options using the Volume keys and then select them by pressing the Power button
- Highlight the Wipe Cache Partition option and then press the Power key
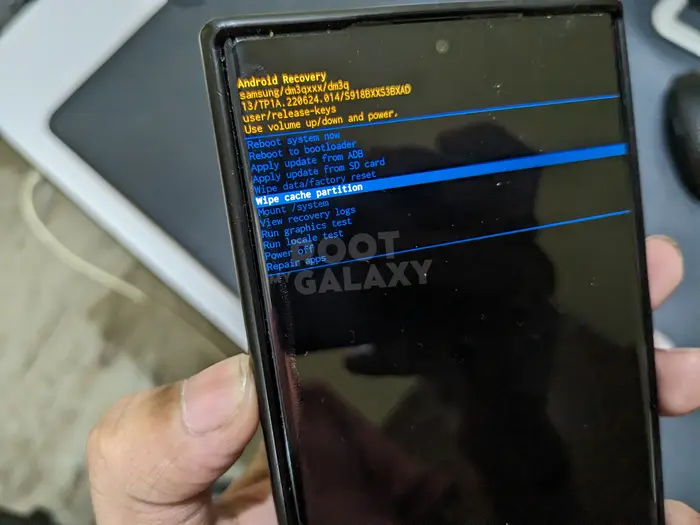
- Select the “YES” option to confirm system cache deletion
- Once the cache partition is wiped, you should return to the home screen in recovery and then select “Reboot System Now”
Wipe Dalvik Cache using TWRP –
Dalvik is essentially a virtual machine used by Android devices. When an app gets installed on an Android smartphone, it modifies the Dex bytecode files and optimizes it for a smoother performance. The optimizations are cached in a “.odex” (optimized dex) file. As for Android Runtime (ART), it is a successor to the Dalvik Cache. Dalvik and ART are slightly different from the app cache, which is created by the app for storing temporary files.
If you’re using TWRP Recovery, you need to select Wipe -> Advanced App -> Dalvik/ART Cache and then Swipe to wipe for deleting the system cache on your Android smartphone.
How to use the Fastboot Erase Cache command for clearing cache?
While you’ll be able to use the ADB commands while your smartphone is booted into OS, Fastboot Commands work only in Fastboot Mode or Bootloader. Fastboot is a protocol used for diagnosing Android devices and flashing firmware images onto them using USB. The Fastboot Mode isn’t available for Samsung users as Galaxy devices use the Download Mode instead.
Using Fastboot Commands, you’ll be able to erase partitions like cache and user data on your Android smartphone. Here are the steps you need to follow –
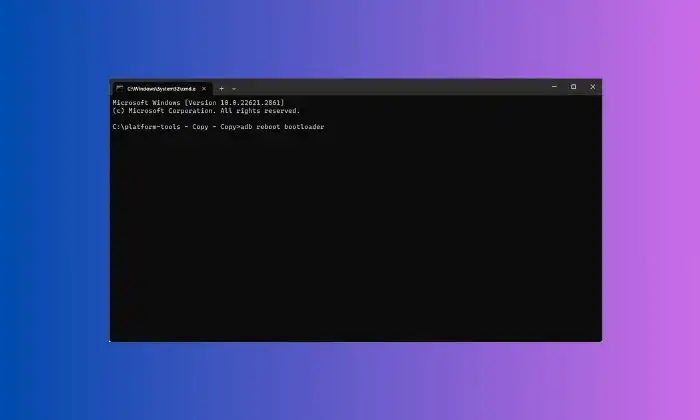
- Connect your smartphone to a PC and launch a command window
- Now, execute the following command for rebooting into the Fastboot Mode
adb reboot bootloader
- Wait until your smartphone enters the Fastboot Mode
- Give the following command in the PowerShell or Terminal window before hitting Enter
fastboot erase cache
- Once the cache partition is wiped, you should execute this command –
fastboot reboot

We hope this guide helped you know the different ways to clear cache on Android via ADB, Fastboot, and more. If you have any questions or suggestions, feel free to mention them in the comments section.
