Looking to know how to switch from SuperSU to Magisk and pass SafetyNet? If yes, then this guide will save the day for you. In this guide, you will get to know how to switch from SuperSu to Magisk and pass SafetyNet.
In 2015, the SuperSU project was sold to a Chinese company. This meant that SuperSU was no longer open source anymore. Due to this change, people started worrying and looking for alternatives.
One of the best alternatives to SuperSu is definitely Magisk. Magisk will help you to root devices and install custom ROMs in a matter of minutes. Though it does support all the devices their team is working hard and adding support to new as well as old devices every day.
Why Switch From SuperSu To Magisk (Magisk Benefits)
The main benefit of Magisk is to bypass SafetyNet.is an API that was developed by Google in order to detect whether or not a device is in a known-good state. On older devices, this check is more lenient in order to maintain compatibility. Magisk is a systemless root manager. In order to pass the safety net, you need to remove all the root mods and also SuperSU, then you can install topjohnwu’s Magisk instead. This will allow you to enjoy all of the benefits of root access without touching files on your system partition.
Now Magisk is the best choice for many Android users as it is open source. It is also systemless for compatible devices and it comes with the Magisk Module ecosystem as well. So in this article, we will be sharing How to Switch from SuperSU to Magisk. Follow the in-depth instructions carefully in order to install Magisk on your device. Do note that this method does require you to have TWRP recovery installed.
Downloads
Download the latest version of Magisk
Steps to Switch from SuperSU to Magisk (Move From SuperSU To Magisk)
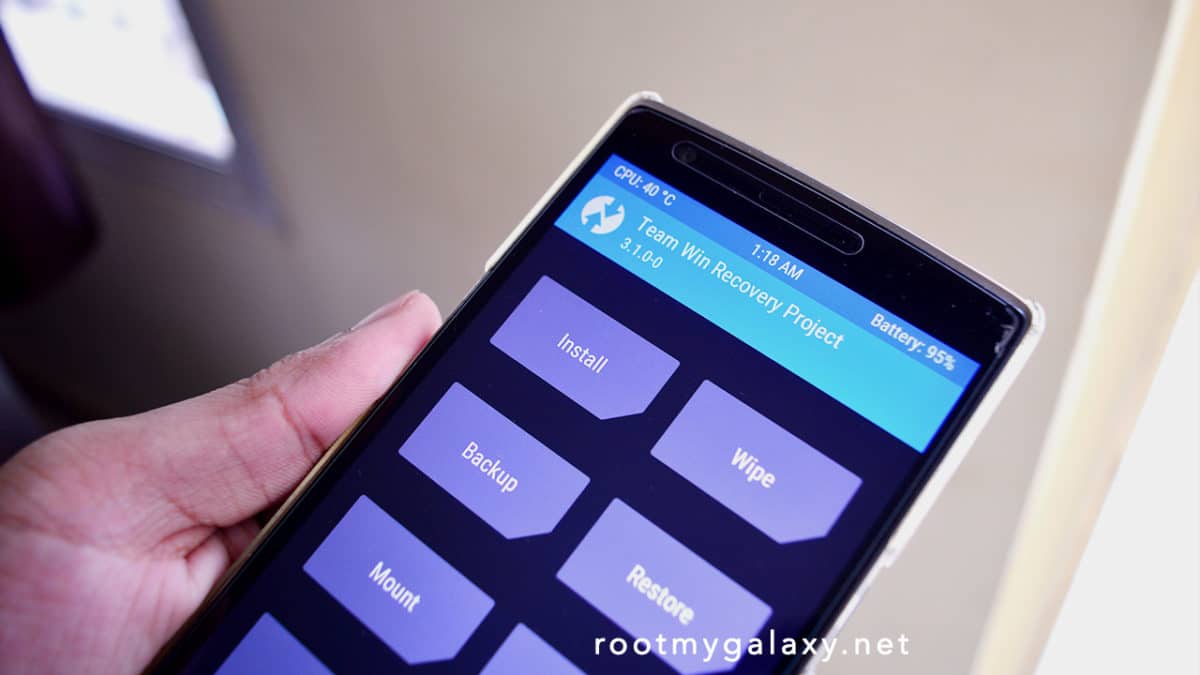
[su_label type=”black”]Step 1[/su_label] Before getting started, make sure you have TWRP recovery installed on your device.
[su_label type=”black”]Step 2[/su_label] Copy/move the downloaded files ZIP files to the device
[su_label type=”black”]Step 3[/su_label] Boot the device into TWRP.Different device has different booting methods. Check the guide linked below
How To to Boot Into Recovery Mode On Android (Various Ways)
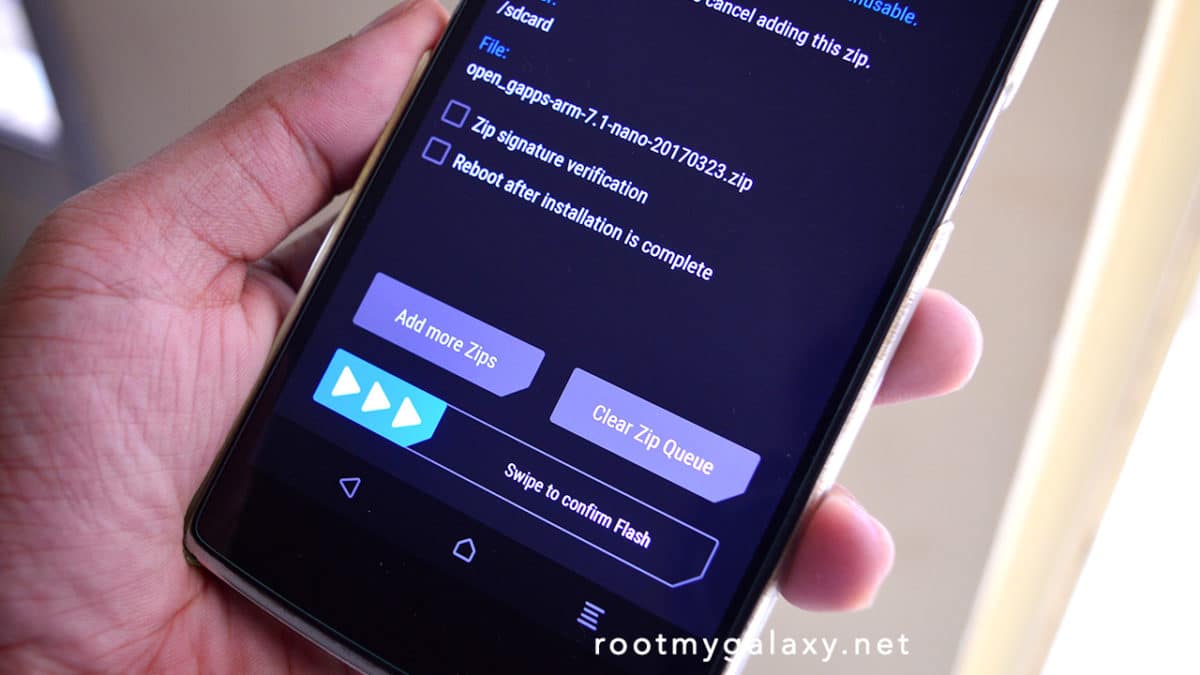
[su_label type=”black”]Step 4[/su_label]Tap on the Install button, then browse to and tap the unSU ZIP file then Swipe the white arrows to the right to confirm
[su_label type=”black”]Step 5[/su_label]Tap the Home button > Tap the Install button again > Browse and tap the Magisk ZIP file > Swipe the white arrows to the right again
[su_label type=”black”]Step 6[/su_label] Tap Reboot System button once it installs.You’re Done!
Hope this article was helpful to you. In case you have any doubts, leave them in the comments section. We’ll be glad to help you out.
