[2018] Full List Of Best Custom ROMs For Oukitel K10000 | Android Oreo (8.0/8.1) and Android Nougat 7.1.2 ROMs: Here we will be sharing all the Custom ROMs available for Oukitel K10000. Some of these Custom ROMs are based on Android Nougat and some are based on Oreo (few). You can download and install these ROMs following linked guides. Before flashing the ROMs please check whether it is a stable build or beta.
The Oukitel K10000 comes with an exceptional list of specifications and features. It has a 5.5-inch IPS display screen with 720P HD Screen, a powerful 1GHz quad-core MediaTek MT6735 processor, 2 GB LPDDR3 RAM, 32 GB ROM storage capacity, and a non-removable 10000mAh Lithium-Polymer battery. It runs on Android 7.0 Nougat and its other features include Wi-Fi, an 8.0 MP rear camera, a 2.0 MP front camera, Bluetooth, OTG Support, fingerprint scanner, USB, and more.
There are tons of things which users can do after rooting their device like flashing Custom ROMs, kernels and Mods. Most of the Custom ROMs are feature rich. They provide loads of customisation options compared to the Stock ROM. Some of the Custom ROMs are well optimised for battery and performance. So, users are always in search of good custom ROMs for their Android smartphones.
Oukitel alongside with Huawei and Lenovo has been dominating the Asian mobile market. But Big brands like Samsung and LG are also doing an excellent job in the Global markets. Oukitel has a big loyal fanbase. Because of that there are tons of development happen around Oukitel Devices. There are already some Custom ROMs available for Oukitel K10000. We will be sharing the list below. Remember, this post will be updated regularly with new custom ROMs being added.
What is Custom ROMs On Android?

Custom ROMs are based on Official Android source codes which are customized or developed by developers or a community of developers. Custom ROMs come with loads of extra customizations which makes them unique and popular among the android lovers. Remember, Custom ROMs are not provided by HTC or other mobile vendors but are developed and maintained by the community and its contributors.
Some example: Lineage OS (Previously known as CyanogenMod), Paranoid Android etc.
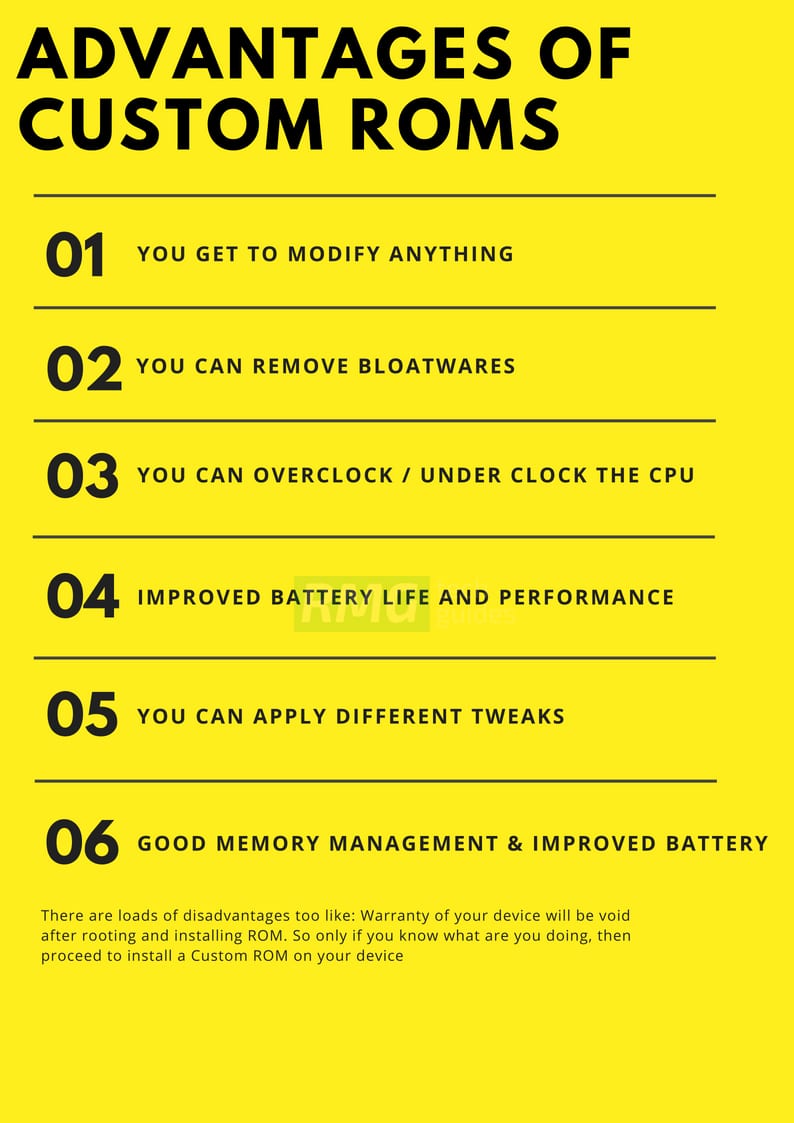
Benefits Of Custom ROMs
1) Vanilla Android (Pixel Style)
Most Of the AOSP Based Custom ROMs are bloatware free and have very close to the stock look and feel which makes them super snappy. These ROMs are very optimized for battery and performance.
2) Root Access
Most of the Custom ROMs are pre-rooted. The process of gaining full admin control of the Android device is called Rooting On Android. It’s similar to running programs as administrators in Windows.
After rooting your device you can install different MODs, kernel, ROMs on your device. You can install latest Android updates (like the Android 8.0 Oreo) On old device by installing third-party ROMs like Lineage Os 14.1 or 15. You can overclock the CPU and GPU of your device to get the best performance. You can hibernate any app you want. You can underclock the CPU to get better battery life.
For more information about Android rooting, check out our detailed post here > What Is Rooting Android Phone? Advantages And Disadvantages
3) Regular Updates
Most of the Android smartphone manufacturer provides 2-year software support and after that, the devices won’t get any official update. In that case, users have to fully depend on Custom ROMs to test the latest Android on their devices.
Most of the developers of the Custom ROMs provide a 4)regular update which is one of the best things about Custom ROMs.
4) Customization
Android is famous for Customization and Custom ROMs take this to another level. Unlike Stock vanilla android Custom ROMs come with various customization options. We are sharing few of them below
- Users can enable or disable navigation bar
- Users can customize navigation bar and Status bar icons
- Some Custom ROMs come with different MODs
- Some Custom ROMs come with Custom Kernels which allow users to Overclock or underclock the CPU and GPU.
- Some Custom ROMs come with support for Third party themes
5) Battery and Performance
Most Of the Custom ROMs are very close to stock vanilla android in look. The Custom ROMs are very optimized which results in better battery life and smooth performance.
Pre-Requirements:
1) Make sure the bootloader on your device is unlocked and your device is rooted and you have a custom recovery installed.
If your bootloader is locked then check out the guide here > How To Unlock Bootloader Of Any Android Using Fastboot. Some devices like and Huawei phones need a unlock code.
- Download Moto AIO Tool: Flash Stock ROM, TWRP, Unlock/Relock Bootloader and Root Motorola Devices
- Download Mi Flash Unlock Tool: Unlock Bootloader Of Devices
- How To Unlock Bootloader On HTC Devices
2) Make sure your device has more than 50% battery.
3) Make sure your device is rooted and have a custom recovery like TWRP Installed.
- How To Download Latest TWRP Recovery On Any Android
- How To Flash SuperSU using TWRP Recovery & Root Any Android device
DISCLAIMER
RootMyGalaxy.net is not responsible for any hardware/software issues that occur on your device(s) by following this guide. We are certain that the following guide is carefully written, avoiding any mistakes on our side. If you are unsure of the causalities that may occur if the procedure goes wrong, then please don’t proceed.
List of Best Custom ROMs For Oukitel K10000 (Oreo and Nougat)
- Resurrection Remix v5.8.5
- crDroid OS v2.5
- MIUI 8 (MIUI 8 v7.5.27)
- aosp Extended v3.3 (Android Nougat 7.1.2)
| Rooting Guide: How To Root Oukitel K10000 and Install TWRP Recovery
How To Install Custom ROMs On Oukitel K10000

- Make sure your device is rooted and have a Custom Recovery installed.
- First, download the desire Custom ROM from above and save it in your device’s sd card
- Now download the GApps file from the link given below and save it in your device’s sd card
- For Android Oreo ROMs: Download Latest Gapps For Android Oreo | Android 8.0 GApps
- For Android Nougat ROMs: Download GApps For Android 7.0/7.1/7.1.2 Nougat
- For Android Marshmallow ROMs: Download Official GApps For Android Marshmallow 6.0 /6.0.1
- Now select install and then browse for the downloaded ROM file and then select it.Next flash the Gapps file and then Magisk (optional).
How To Install A Custom ROM Via Recovery On Any Android
How To Flash GApps (Zip) via TWRP Recovery
How To Install Magisk On Android Oreo To Gain Root
- Once the flashing process is completed, reboot your phone and you will be booted into the ROM.
